Preserved Lemons

Homemade preserved lemons make wonderful gifts, so we suggest that you check out the wide variety of useful & decorative glass storage jars available from Wares of Knutford.

Preserved Lemons
 
Author: 
Recipe type: Condiments
Ingredients
  • Lemons
  • Lemon Juicce
  • Kosher Salt
  • Colander
  • Deep pot with lids
  • Canning mat
  • Quart preserving jars
  • Dishtowels
  • Canning towels
  • Lids
  • Canning tongs
  • Rings
  • Platter
Instructions
  1. Wash your lemons thoroughly & set them in a colander in the sink to drain. You will need 8-10 lemons for each 1 quart canning jar that you use.
  2. Place your canning mat in the bottom of a deep pot. If you don’t have a canning mat, line the bottom of the pot with a clean cloth dishtowel. This will keep the jars from bumping against each other when you sterilize them.
  3. Stand the quart jars in the pot with their open ends facing up.
  4. Fill the pot with water so that the jars are completely covered. Bring the water to a boil. Lower it to a rolling simmer & cover the pot. Let the jars sterilize for 10 minutes without disturbing them.
  5. Lay a folded dishtowel on the counter. Remove the jars from the water with your canning tongs & place them on the towel, open side up. Never put hot jars directly onto a cool surface like a bare counter because they may shatter.
  6. Drop the lids and rings into the boiling water & turn off the heat.
  7. Slice both ends off of each lemon & cut the lemons into 4-6 wedges each.
  8. Lay the wedges out on a platter or a length of waxed paper & lightly salt them with the Kosher salt.
  9. Fill the bottom of the jars, once they have cooled enough to touch, with ½ c. Kosher salt.
  10. Fish the lids & rings out of the hot water with the canning tongs & set them on the dishtowel with the jars to cool.
  11. Squeeze each lemon wedge gently as you pack them snugly into the jars.
  12. Fill the jars with lemon juice so that the lemons are just covered. Sprinkle another layer of salt on top.
  13. Wipe any excess salt or lemon juice off of the mouths of the jars with a clean dishtowel. Seal the jars with the sterilized lids & rings.
  14. Let the jars sit at room temperature for 24 hours & then turn them upside down. Let them sit for another 24 hours, then turn them right-side up & place them in the refrigerator.
  15. Leave the jars in the refrigerator for three weeks, occasionally turning them upside down for a day or two.
  16. To use the lemons, pick one out & wash off all of the salt. Discard the seeds & pulp & grate or finely chop the lemon rind.
  17. Add visual interest as well as flavor by adding mint sprigs, rosemary, sage, thyme, peppercorns, whole cloves, whole coriander seeds, or cinnamon sticks to your preserved lemons when you pack them into the jars. Experiment by adding different combinations of herbs & spices.

Photo Courtesy of Daniella Segura

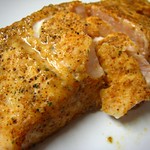
Alaskan Baked Salmon

The serving size depends on the size of the fish.

Alaskan Baked Salmon
 
Author: 
Recipe type: Entree
Cuisine: Seafood
Cook time: 
Total time: 
Ingredients
  • 1 Alaskan salmon, approximately 6 lbs., cleaned
  • 1 med. red onion, thinly sliced
  • 1 lemon, thinly sliced
  • 1 tsp dried thyme
  • 4-5 sprigs flat leaf parsley
  • freshly ground black pepper
  • sea salt
Instructions
  1. Preheat oven to 400°F. Rinse the salmon well under cold running water & sprinkle inside the cavity with salt & pepper.
  2. Stuff with half of the red onion slices, half of the lemon slices, & all of the parsley. Lay the salmon on enough aluminum foil wrap to enclose fully.
  3. Rub both sides with olive oil, sprinkle with salt, pepper, & thyme. Scatter the remaining onion & lemon slices on top & seal foil tightly around salmon.
  4. Bake on baking sheet 40-45 minutes, adjusting time for size of salmon. Cool salmon in foil on cooling rack, then remove onion & lemon slices.
  5. Remove skin if desired & served baked salmon at room temperature.

Photos courtesy of bloomsberries and Ernesto Andrade on Flickr.

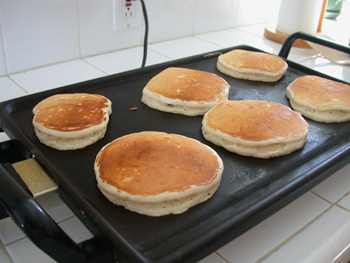
Gary’s Pioneer Pancakes

Gary Says: You can substitute buttermilk for the evaporated milk & lemon juice & zest.

Gary's Pioneer Pancakes
 
Author: 
Recipe type: Breakfast
Ingredients
  • 1½ c. cake flour
  • 1 tbsp cake flour, reserved
  • 1½ c. evaporated milk
  • 1 lemon
  • 1 large egg
  • 3 tbsp sugar
  • 1 tbsp baking powder
  • 1½ tsp vanilla extract
  • ¼ tsp salt
  • butter
  • maple syrup
Instructions
  1. Heat griddle or skillet over medium to low heat. In a large bowl combine flour, salt, baking powder, & sugar.
  2. In another bowl, combine evaporated milk, lemon juice, & lemon zest. Let rest for 4-5 minutes. Add egg, vanilla, & melted butter. Lightly stir to blend.
  3. Gently combine wet & dry ingredients (wet into dry). Stir to blend ingredients. Add more milk if batter seems too thick. Do not make too thin of a batter.
  4. Melt a dab of butter on heated skillet/griddle. Drop batter by ¼ cups & cook until golden (approximately 1-2 minutes per side). Serve with softened butter & syrup of choice.


Photo Courtesy of Dvortygirl on Flickr

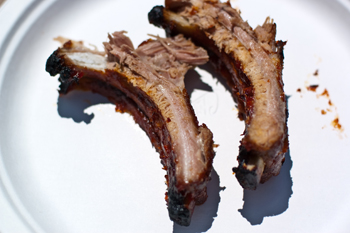
Barbecued Country Style Pork Ribs

Barbecued Country Style Pork Ribs
 
Author: 
Recipe type: Entree
Cook time: 
Total time: 
Ingredients
Main
  • 3 lb. country style pork ribs
  • 1 small onion, sliced
  • 1 lemon
  • garlic powder
Barbecue Sauce
  • 14 oz. ketchup
  • 5 oz. water
  • ⅓ c. Worcestershire sauce
  • 1 tbsp brown sugar
  • 2-3 dashes Tabasco sauce
  • 1 tsp salt
  • Dash black pepper
Instructions
  1. Combine & bring to a boil.
  2. Place ribs on a flat pan. Sprinkle ribs with garlic powder. Arrange onion & lemon slices on top.
  3. Bake, uncovered, in oven at 450°F for 30 minutes. Drain. While ribs are baking, make the sauce.
  4. Place ribs, onions, & lemon in heavy baking dish or pan with lid. Pour hot barbecue sauce over ribs.
  5. Cover and bake in 325°F oven for 1½ hours.

Photo Courtesy of Ernesto Andrade on Flickr

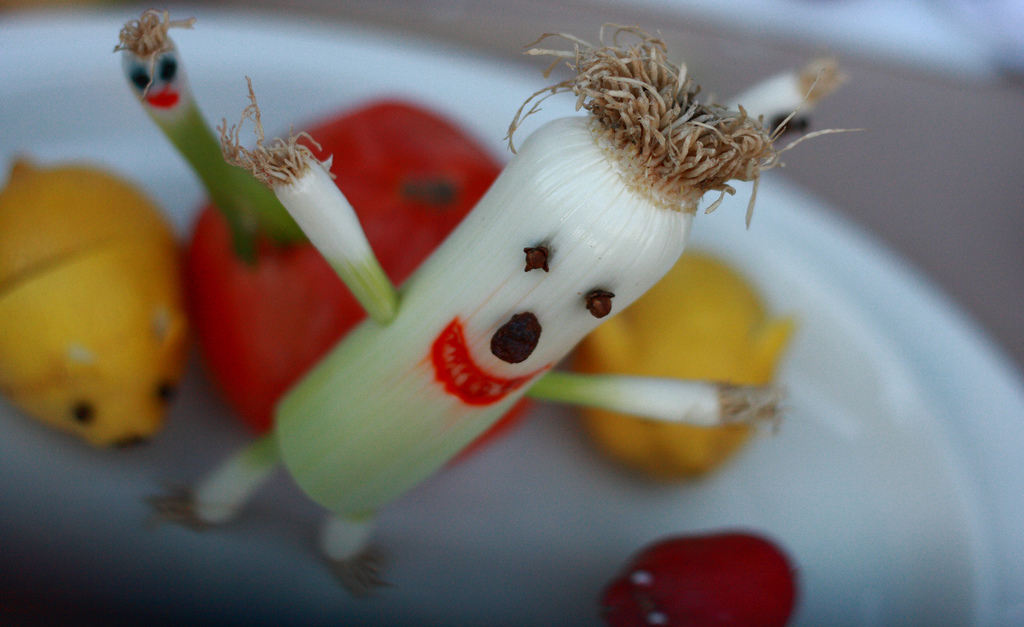
Food Art Friday for March 26th

Food Art

Via Denise Greer

Submit your food art or found food art photos to info@foodaskew.net!